Easy DIY Natural Dry Shampoo
A natural dry shampoo that actually works and is more cost-effective- can it be?
Y’all- I. AM. PUMPED! I honestly avoided DIY dry shampoo for so long because I thought,
“It’s going to be messy.”
“It’s not going to be as easy as the spray.”
“I won’t like it as much.”
So I just kept avoiding it and buying the cheap stuff off the shelf KNOWING that dry shampoo is one of the main products I needed to clean up.
But boy was I wrong!
I finally broke down, made my DIY natural dry shampoo, and LOVE IT. So I had to share the easy peasy details with you!


This post contains affiliate links, which means I receive a small commission, at no extra cost to you, if you make a purchase using this link. If you do then I appreciate you!
Why DIY Natural Dry Shampoo
If you are anything like me then mom life, doing what’s best for my hair, and a little laziness has you washing your hair only like twice a week. Fewer washes equal more dry shampoo.
I was determined to stick to the spray dry shampoo because it seemed so easy and quick, but no matter how many clean brands I researched, most still had fragrance in the ingredients. I even bought a brand that had a whole list on the front of the bottle of all the things it DIDN’T have in it, yet it still had (an overwhelming amount of) fragrance.
If you’ve checked out my Beginner’s Guide to Non-Toxic Living then you know “fragrance” is just a catch-all word for all types of toxins- mostly plastics. The last thing I want to spray right onto my scalp and pores is plastic. This explanation comes straight from the Think Dirty app:
“The major concern with fragrance is that it is not required by law to disclose the individual ingredients used to produce it. Therefore, many fragrance ingredients which are harmful can be omitted from the label. While it is often a mix of synthetic and natural ingredients, fragrance commonly consists of harmful constituents such as phthalates. In US FDA law 21 CFR 701.3 (a) Fragrance and Flavors section.”
Plus, the more you use oils/natural scents then the more the chemical fragrance smell will just drive you crazy. Just a side effect of the non-toxic life…your nose knows better.
Other common ingredients in store-bought dry shampoo:
- Talc- possible carcinogen
- Parfum- another name for “fragrance”
- Triclosan- used as an antibacterial and antifungal which is banned in Canada for its harmful effects
- BHT- possible carcinogen
- And the list goes on
How to make your own DIY Natural Dry Shampoo


Well that’s enough of the gloom and doom. Let’s get to the fun part of making your own DIY natural dry shampoo.
This recipe took me less than 5 minutes to make and less than $5 to make if you break everything down.
It works BETTER than regular dry shampoo in my opinion and was just as quick and easy to use.
What you need:
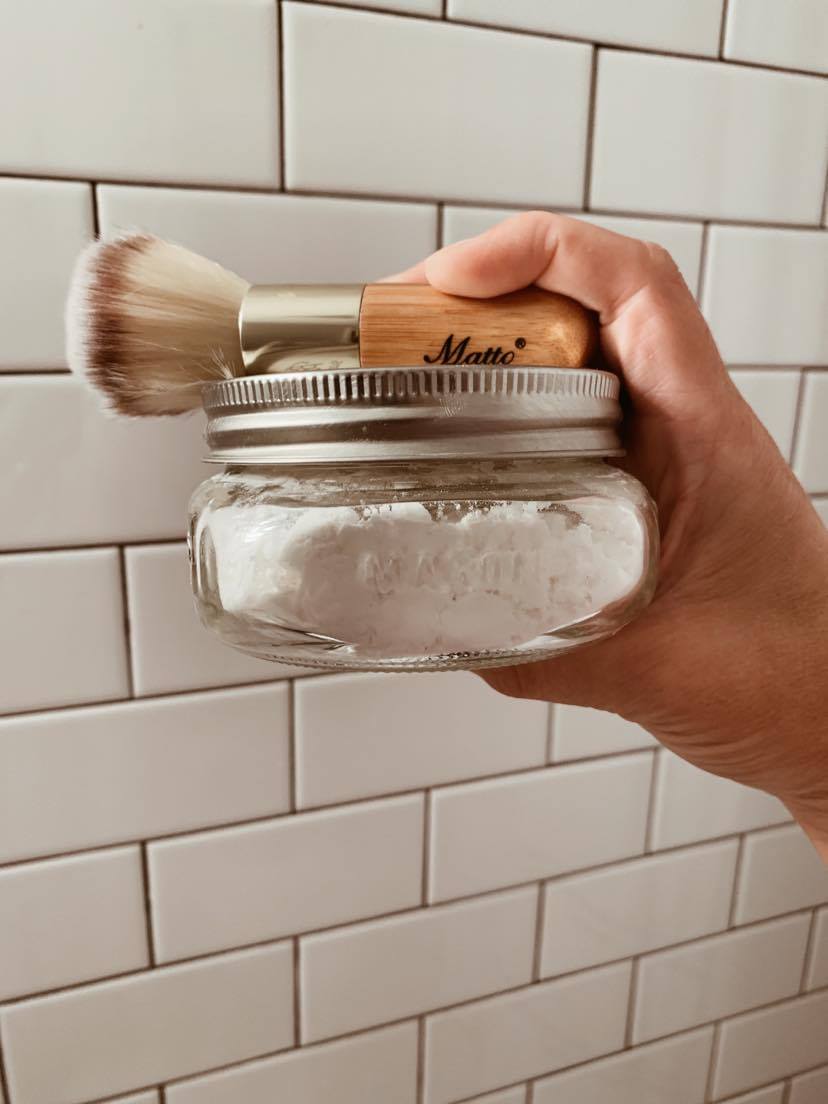
- Glass jar ( I like the half-pint size)
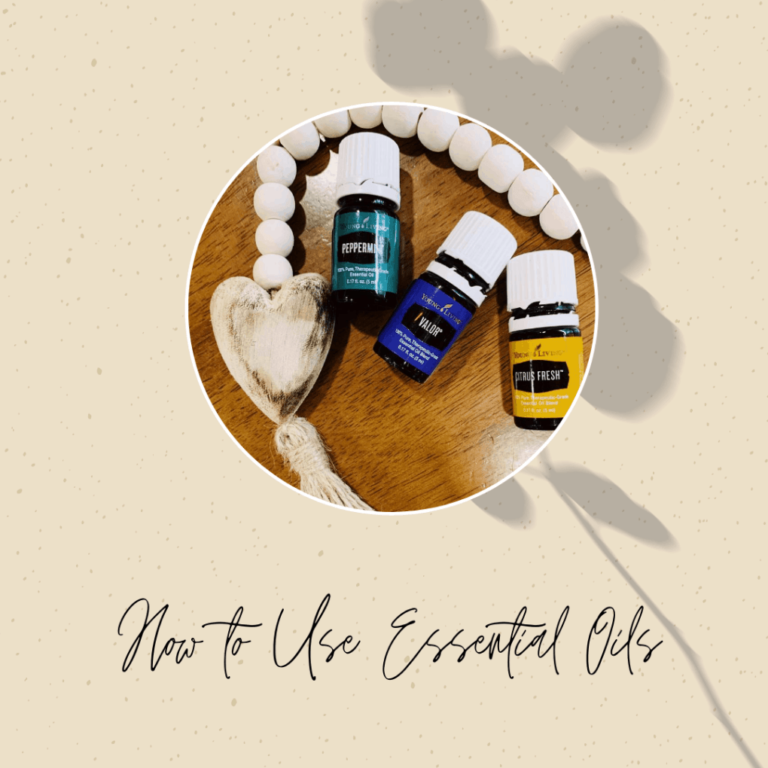
- Essential oils
- Arrowroot powder
- Makeup brush
- Optional for dark hair: cocoa powder
I wish I had some fancy instructions for you but literally, all you have to do is :
Put about half a cup of arrowroot powder in your glass jar and add 5-10 drops of each oil below. These specific essential oils are chosen because they promote healthy hair.


Mix all your powder and oils together! Don’t worry if it gets clumpy, it will still work just fine. I give my jar a good shake before each use.


Then to apply you just dip your brush in, give a little shake and apply to desired areas. I mean really it’s that easy. When you first start to apply it you might have this huge white spot of powder on your head and you’ll think “oh no that’s too much.” But just keep rubbing in with your makeup brush and it blends in perfectly and FAST.
I personally like to apply mine around my forehead first so I use a headband to pull all my hair back.


Then I like to pull everything up on the top of my head and get the back.


And finally I just dab the spots that need a little help!


The whole process takes me MAYBE 2 minutes. I’m so extremely impressed with the results and hope you are too!
Let us know in the comments if you give it a try!
If you want to try a few more DIY items, check out the free guide below.


